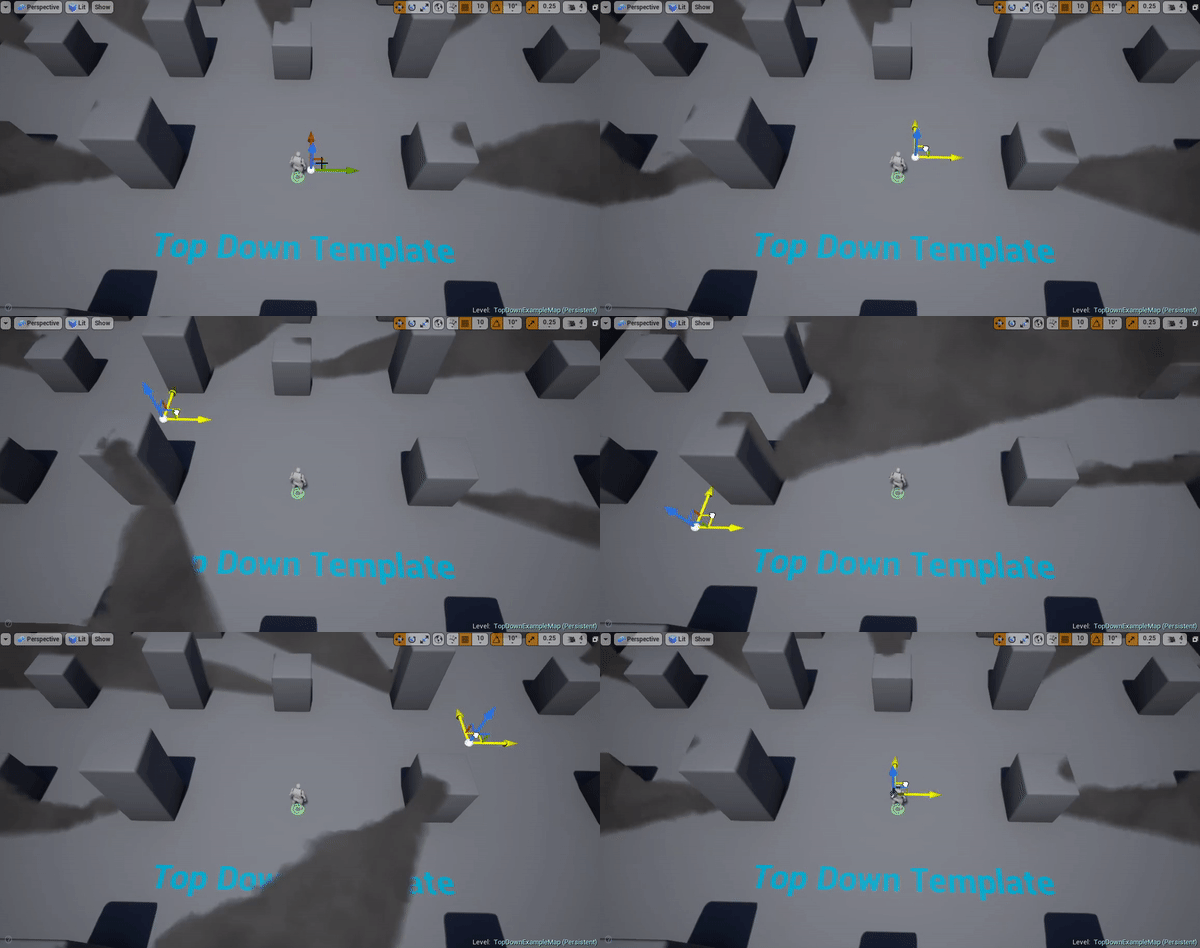
Recently I worked on a solution for line of sight in a UE4 top-down pet project, as seen below:
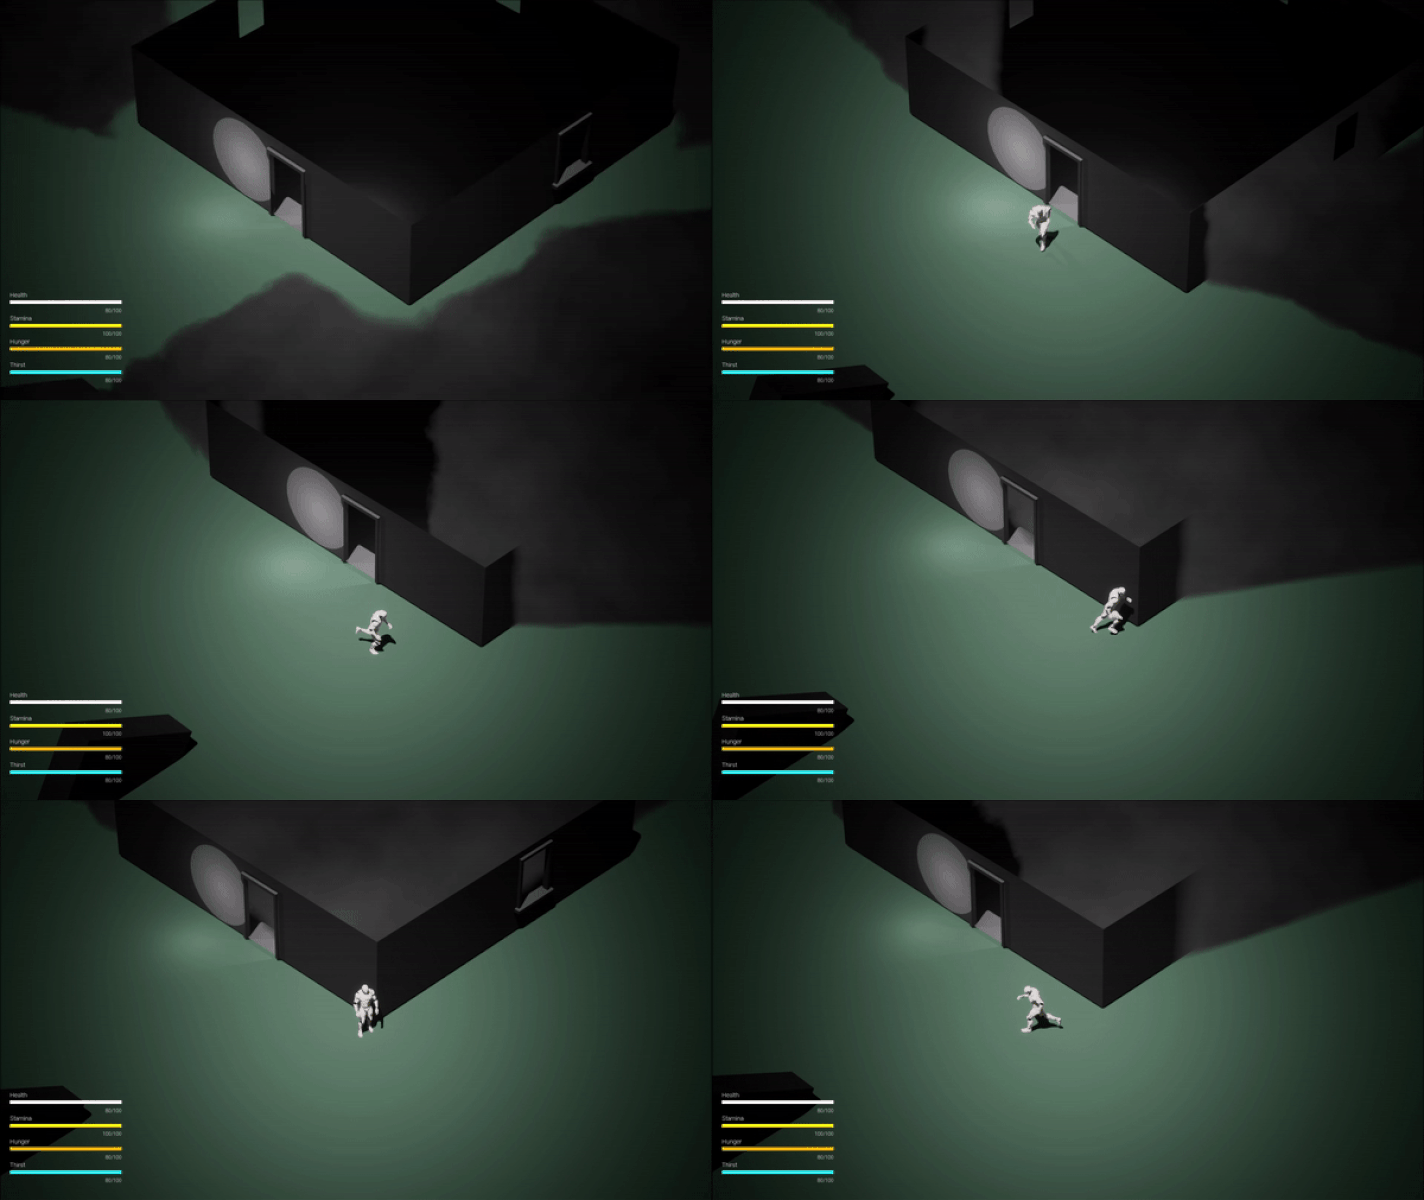

In this article, I’m going to go over all the steps necessary to recreate this effect with Blueprints and a Post Process effect, which include:
Performing radial traces around the player/subject to find obstructing objects
Drawing unobstructed areas up until trace hit or trace end using a triangular “slice” mesh in an instanced static mesh (ISM) component
Capturing the ISM radial slices to a render target
Sampling the render target along worldspace coordinates to serve as a post process mask
Adding a screen-space smoke effect to the post process mask
This article assumes the reader has intermediate familiarity with Unreal Engine’s Blueprints scripting system and Materials system. I’ll be starting with the Top-Down project template, working in UE4 4.20.3, though the concepts explored here should translate to most current versions of Unreal (4.25 is the most recent production build at the time of writing this article.)
Step 1: Detect obstructions around a point using LineTrace
Let’s start off with obstruction detection. For the purposes of this article, I’ll be storing the relevant content in a Folder called SightLine, though you can organize your files however you’d like. In your chosen folder, create a new Blueprint Class, using the Actor common class shortcut as the parent. Name it BP_SightLine, or something similar, and open it up to the Event Graph. Create the necessary variables as outlined in the image below:

The core piece of this system is a yaw rotational 360° series of line traces to find the distance between the center point of our visible area and any obstructions surrounding that center point on a relative XY axis. So to do this, we’re going to use a For Loop, and divide the Trace Count, or number of traces total in our 360° rotation, by 360, and then multiply the result by the CurrentTraceStep, which is just the current index in our loop. You can control the performance impact of these traces by changing your Trace Count, but this comes with a direct impact on accuracy, especially as you get hits on obstructions further from your center point. In my tests, I’ve found that a 1:1 ratio of traces to degrees of rotation provides acceptable accuracy without impacting performance, so that will be our Trace Count default value.
Create a Custom Event, name it SightTrace, and set up the logic below from it:

Here you can see at each step through the ForLoop, a degree of rotation is being calculated based on the number of traces vs its relation to a full 360 degree turn. This is being fed into a rotation of the actors’ forward vector, so at every step through the loop, the trace is being rotated, until a trace in every direction is uniformly distributed and accounted for. To visualize this, set the Draw Debug Type to For Duration and set the Draw Time to 0.1 in your LineTraceByChannel node, then call the SightTrace event in your Construction script like so:

And then place the BP_SightLine actor in your level and drag it around, and you should see the trace behavior highlighting obstructions as detected from the actor location:

Great! Now that we have the trace behavior set up & parameterized, we can apply the data that we get from our traces to scale out instances in an Instanced Static Mesh component. But first, we need a triangular “slice” mesh that visually represents a 1 degree change in rotation the center point and the two surrounding points. I intended on doing a walkthrough of this process, but with differences in DAE programs & scaling rules needing applied in Blender, I’m just going to provide a link to the mesh for download. Once you have the mesh downloaded & imported into your project, you may notice it is very small. This is by design, as it’s intended to be scaled by the number centimeters an obstruction is away from the actor location, and so it is scaled down to cover 1 centimeter on its X axis. Let’s move on to drawing the obstruction shape with an Instanced Static Mesh Component.
Step 2: Visualize obstructions using an Instanced Static Mesh Component.
We are going to eventually draw this Instanced Static Mesh (ISM) to a render target, so we need a simple material applied to the Slice mesh so it can be easily seen. Create a new material and call it, “M_SightLineSlice,” or something similar. It should look like the image below:

It is important that the Two Sided flag is marked as true, so that we can easily debug the ISM, and so that the Scene Capture component we’ll use to get a Render Target Mask can see the ISM when it’s set up. (More on that later.) It’s also important that the object is set to the Unlit shading model, so that it doesn’t receive any shadows or influence from certain other render features.
Open up the SM_SightLineVisSlice mesh asset, and set the default material to our M_SightLineTrace material like so, then you can save & close SM_SightLineVisSlice and M_SightLineSlice.

Now that we have our mesh prep done, we can set up our ISM & apply some logic to see it in action.
First, in BP_SightLine, click Add Component and select Instanced Static Mesh. Make sure the Static Mesh is set to SM_SightLineVisSlice, the Material is set to M_SightLineSlice in the Element 0 slot, and that the Collision Presets field is set to NoCollision, like so:

Next, create a custom event, and call it, “InitializeISM” or something similar. Hook up the following logic to it:

Then from your LineTraceByChannel node, set up the following logic:

This will update the scale & rotation of the instances based on the trace lengths, vectors & trace count/degree ratio. To visualize this, set the Draw Debug Type to None on your LineTraceByChannel node, and replace the SightTrace node in your construction script with the InitializeISM node, like so:

and in your level, disable OffsetByHeight and drag the actor around the level once more:
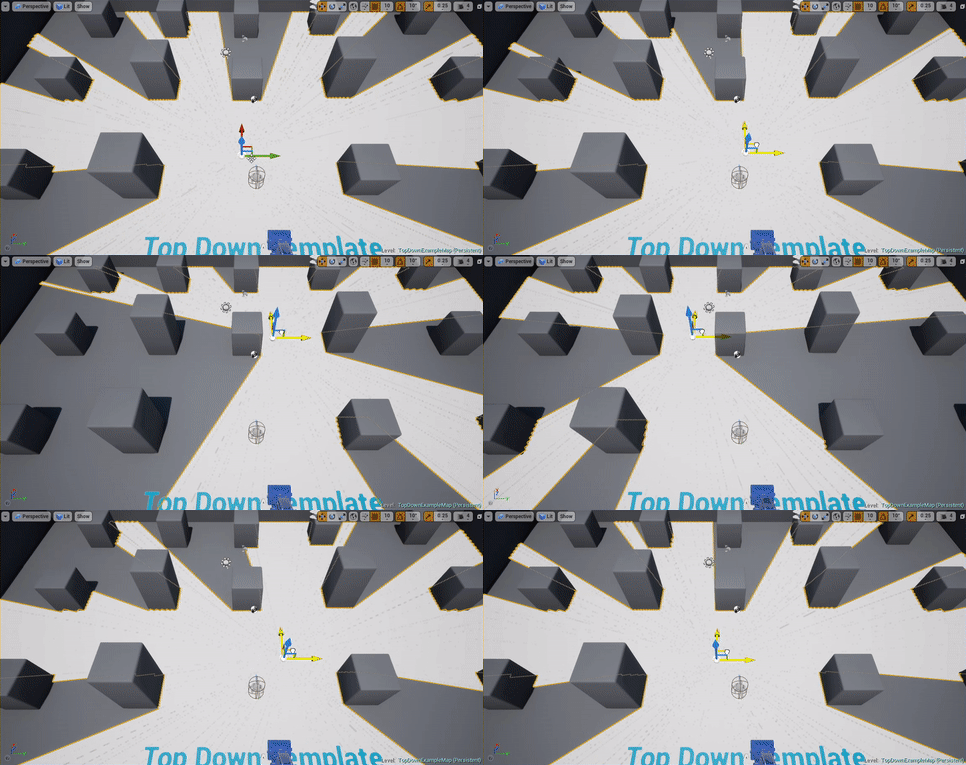
Having the ISMs generate based off the trace data is also hugely helpful in visualizing how TraceCount affects accuracy, as seen below:

OK, so now we have our ISM generating a mesh mask of intersection points. We can see how this works at runtime by having the actor follow the TopDownCharacter actor, and updating the traces as it goes. Here is the logic for that:
First, we need to Append our BeginPlay event with a few nodes to get a reference to the actor type we’d like the SightLine actor to follow:

Next, we need some on-tick behavior to keep the SightLine actor on our target follow actor. As a side-note, rather than the logic I’m about to post below, you can optionally just attach the BP_SightLine actor to your player-character actor. This is just a more general approach to help you understand how it should work.

Now when you PlayInEditor, you should see the ISM following the player and colliding/reshaping based on surrounding obstacles. Ironically, the white area that obscures your view of the ground will serve as the visible area once we set up the post process effect, while the visible area behind obstacles will be culled.
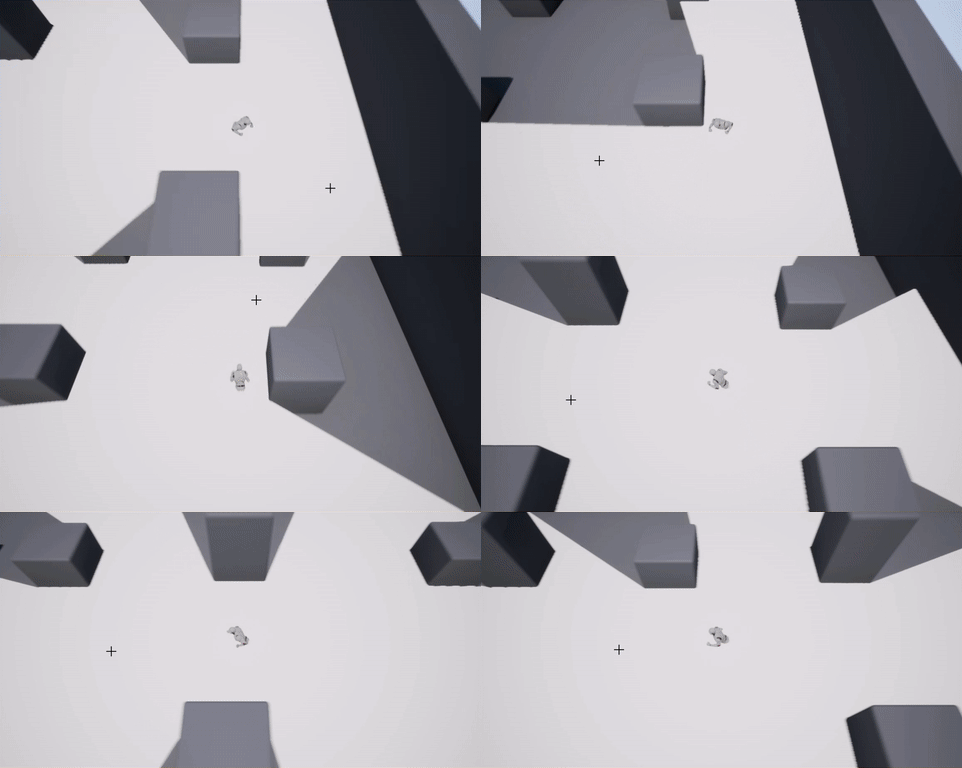
Now that we have a white mask being generated from our ISM & Trace info, it’s time to hide this from view by re-enabling OffsetByHeight. This will keep the trace height location at the actor location, but move the instances up (5000 units by default) relative to the actor so that they’re above the top-down camera and thus out of view. In order to apply this mask, we need to capture it to a Render Target with an orthographic Scene Capture 2D component, and then sample that Render Target in a Post Process material. After that we can add some final effects & call it done!
Step 3: Capturing ISM Visualizer to Render Target
Back in your BP_SightLine class, click on Add Component and select Scene Capture Component 2D, and set its Projection Type to Orthographic. If you’re using a Sky/Atmosphere actor for any reason, make sure to disable it from the Advanced Show Flags section. Then Append your InitializeISM event with the following logic, coming from the Sight Trace event call, like so:

In your Content Browser, create a Render Target and call it “RT_SightLineCapture” or something similar. Make sure to set the Texture Render Target 2D settings as seen in the image below:

and in BP_SightLine, set the Scene Capture Component 2D Texture Target value as RT_SightLineCapture, and set the Capture Source as Final Color (LDR) in RGB.

Now when you open up the RT_SightLineCapture asset & play in editor, you should see the updates to the orthographic view of the ISM, out of sight above the play-screen but still capturing (an inverted image of) the sight lines.

Using this image, we can generate a world-space mask to control visible pixels using a Post Process material!
Step 4: Sampling the ISM RT in a Post Process Material
We’re going to simplify this down to a material function that will just filter PostProcessInput0, which is the default final-render-pass Scene Texture in Post Process materials, and cull pixels that are not covered by the red area in the RT above. To do this though, we’re going to need to be able to update the texture size in worldspace, so that it matches our CheckRange, and we’ll also need to constantly update the actor location as a material variable, so that we can change where in worldspace the texture is being sampled. To do these things, we’ll need to create a Material Parameter Collection, so that we can have easy access to Blueprint & Material shared values.
In your Content Browser, create a Material Parameter Collection, and call it, “MPC_SightLine” or something similar. Open it up, and create a Scalar Parameter, name it SightLineTexScale, and set the default value to 4000. Then create a second Scalar Parameter, name it SightLineMaskHeight, and set the default value to 4500. Then create a Vector Parameter, name it SightLineActorLocation, but don’t worry about the default value, because that’s going to be changed very frequently by BP_SightLine.
Speaking of which, back in BP_SightLine, append the InitializeISM string from where we left it earlier, to include the following highlighted code:

and then update the Event Tick string with the following highlighted code:

This way, any changes made to the texture sampling/encoding values by BP_SightLine are stored to a material-accessible location. Now we need to take these values & the Render Target, and sample them into a Post Process material using a Material Function. So in your content browser, create a Material Function, and call it, “MF_SightLineProjection” or something similar, and open it up.
Create the code shown in the images below:


Make sure to enable Expose to Library like so:

Now we’re ready to create a post process material with this function. Create a new Material, and call it, “M_SightLineBlendable” or something similar. Then right-click on that asset, and select, “Create Material Instance,” and call the new asset, “MI_SightLineBlendable” or something similar. Open up M_SightLineBlendable, and create the following code:

Be sure to set the Material Domain to Post Process, and the Blendable Location to Before Translucency. Once you’ve saved this material, you can close it, and then in your level’s post process volume Rendering Features category, apply the MI_SightLineBlendable asset to the Post Process Materials array, like so:

And now when you drag the BP_SightLine actor around the level, you should see the post process effect masking out pixels behind obstructing objects!
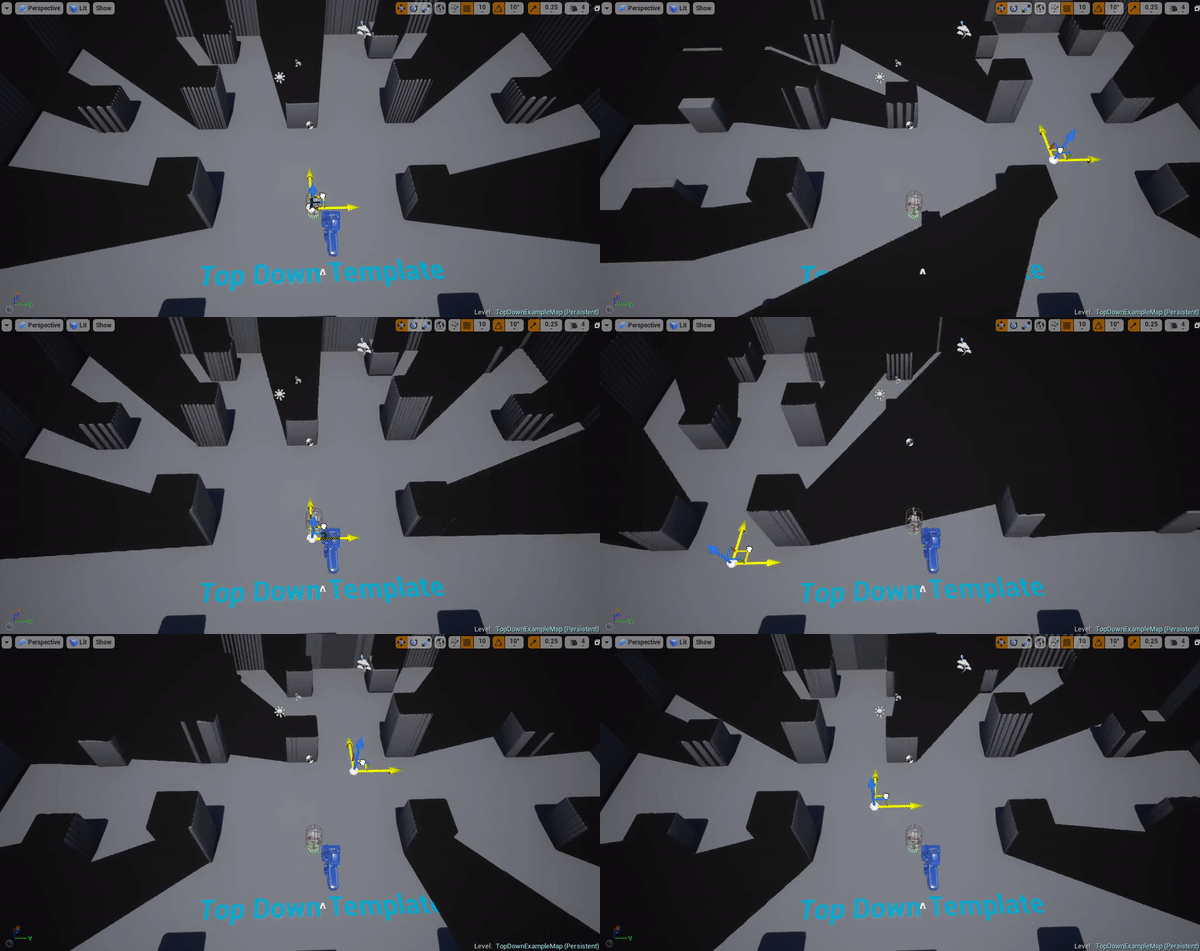
However, we can see some artifacts here. The texture alignment is too sharp against the edges of the obstructing geometry, leading to a phenomenon similar to Z-fighting. Luckily we already put in a measure to stop this in our earlier code building, via the Trace Hit Offset variable. This scales the ISM slices along their respective trace vector, allowing for the unmasked areas to be “pushed back” further from the actor location, like so:


Even still, the mask is (subjectively) too sharp. If we go back into the MF_SightLineProjection material function, we can add some logic to control its falloff. In the “Samples RT in Worldspace, sharpens it up to serve as a mask” commented section, add the below highlighted code to the setup, which will remove the connection to some of the nodes above it:

It’s worth noting that the Spiral Blur function does have some additional render cost, so be careful where you use it. In this case, it helps to soften the edges and give them more of a falloff:
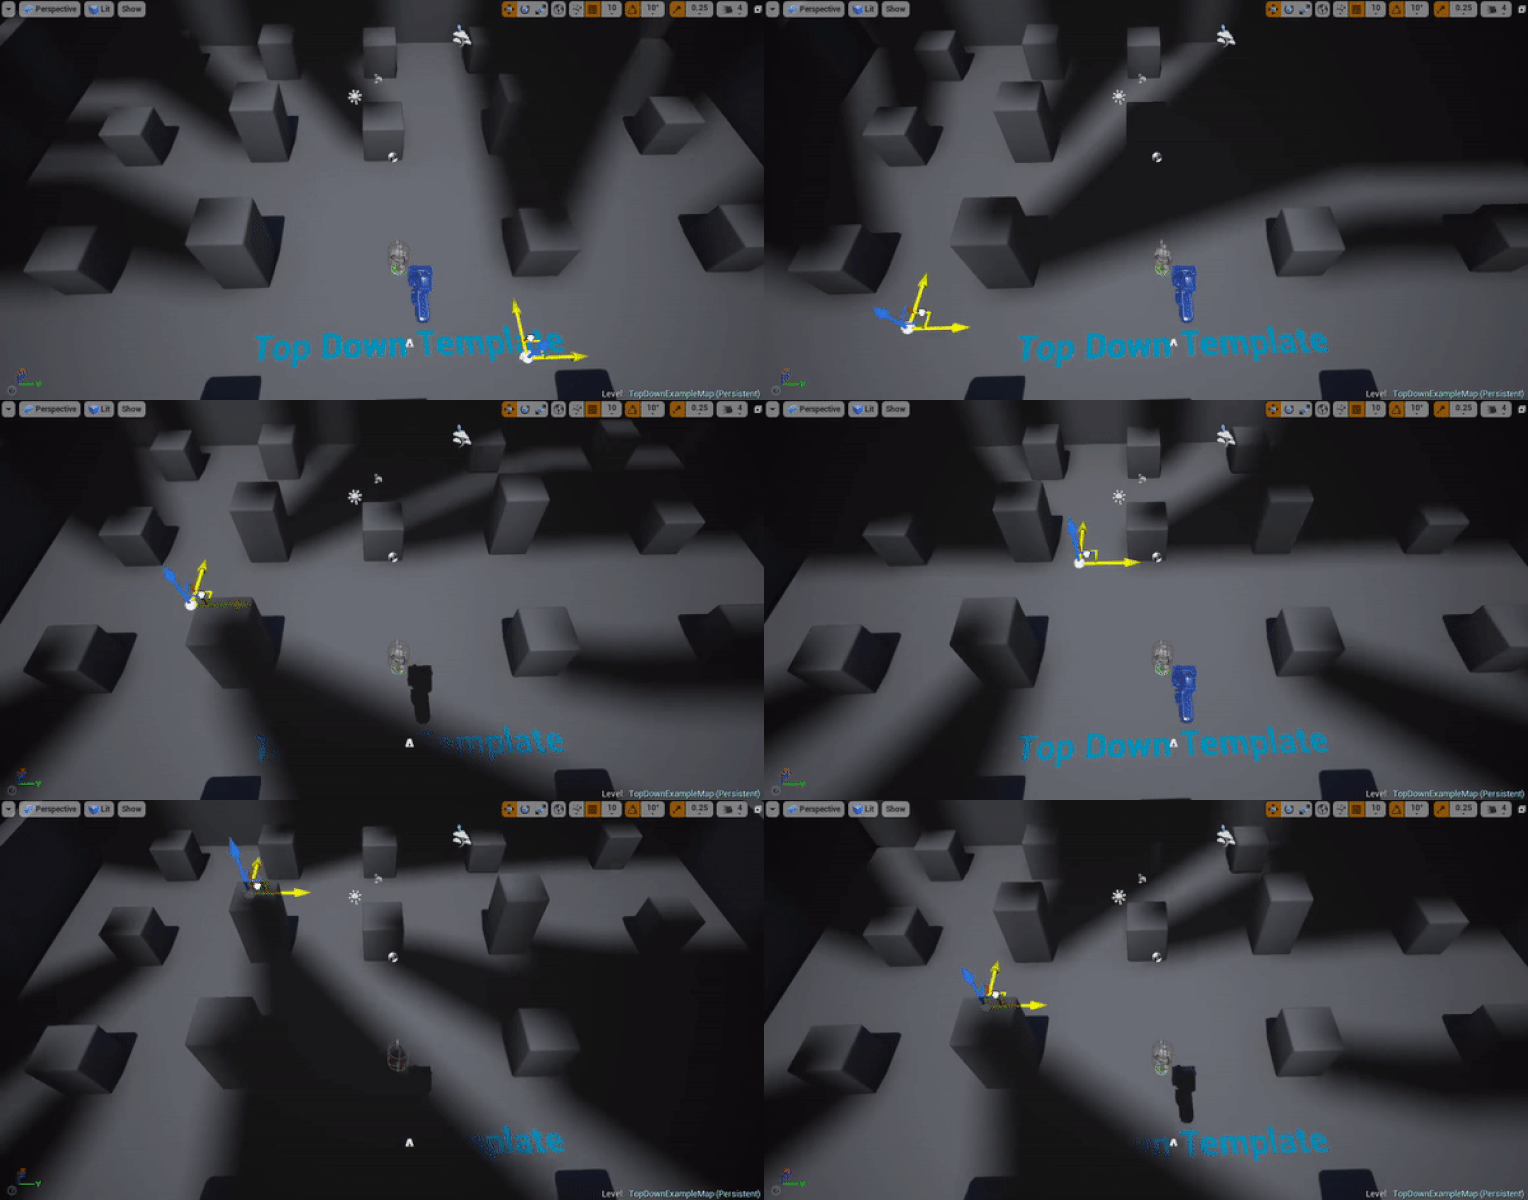
At this point in the tutorial, you can use this setup for a basic line of sight effect in your game. If you want to change the color or add in a texture to the masked area, you can change this node:

to whatever visuals you’d like to include, or even change it to a Function Input (Vector3) and control how it looks from within your post-process material if you’d like to parameterize it further.
The final step in this writeup are technically optional from here, but this will show you how the smokey effect was applied to the sightline mask.
Step 5: Adding a screen-space smoke effect to the post process sightline mask
If you want to include the visuals in the first two gifs in this article, go ahead and download this texture that will serve as our smoke base noise, and then create a new material function called, “MF_ScreenSpaceSmoke” or something similar.

In MF_ScreenSpaceSmoke, be sure to check Expose To Library, and then create the code in the following screenshots.


Once you’ve finished building out that function, we can use it as a sample to change the properties of our sight lines mask. In this case, we’ll use it to:
Dilate the UVs to give the whole mask a “wavey” effect, which will in turn warp the edges slightly
Modulate the strength & falloff of the edge softnesss from the SpiralBlur pass
Modulate the mask color to include light & dark regions, like arbitrarily lit ambient smoke.
Below are images of the code you’ll update in MF_SightLineProjection:


And that’s it! Save your functions and materials, and you should have the smoke visuals in your post process sight line pass!
Thanks for checking out this tutorial! If you have any questions, feel free to leave a comment below, and I’ll get back to it as soon as I can!
Sources:
Viewport aligned, aspect ratio independent texture mapping courtesy of Ryan Brucks: https://forums.unrealengine.com/development-discussion/rendering/101641-screen-position-aligned-sphere-mask?p=875154#post875154
Forum thread on fog of war/line of sight, user tanmay discusses using “fan/slice” meshes scaled along trace paths: https://forums.unrealengine.com/development-discussion/content-creation/3812-monaco-style-fog-of-war